The default Invoice style, as shown in Section 15.4.5, “Print”, is fairly barren. The default invoice style leaves the top part of the form blank, so you can print on company letterhead paper. There are some things you can do to change invoice appearance.
Use → to enter your Company informations in the Business tab of the Book Options window. Some of the entered informations are printed on the right side of invoices.
To add a customized background, heading banner or logo to invoices, modify the invoice style sheets. To do this, go to → and select the button in the Select HTML Style Sheet window that will appear. You will then see a window like this:
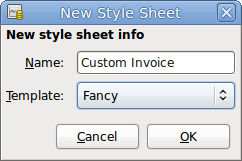
The New Style Sheet window.
Give a Name to the new style sheet (e.g. Custom Invoice) and select the Fancy Template. When you click the button, the HTML Style Sheet Properties window is displayed. This window presents you five sections listed in the left pane: Colors, Fonts, General, Images, and Tables. The Colors section allows you to change the colors of various items of the invoice. The Fonts section lets you set fonts type and dimensions. The General section allows you to set the Preparer and Prepared for information, and to Enable Links. The Images section allows you to import graphics into the style sheet. The Tables section allows you to adjust the spacing around the tables which make up the invoice.
To include a company logo, banner heading and background image, use
your favorite graphics application such as The Gimp or OpenOffice Draw to
save the images in either GIF or PNG format. Then import them into the
style sheet using the Images section described above.
Below is an example that imports all three types of images.
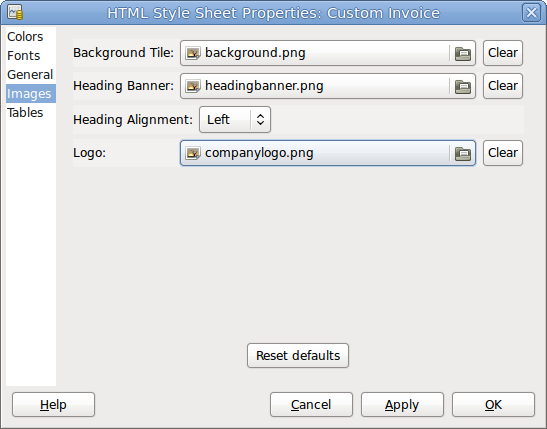 |
The HTML Style Sheets window with an example Background Tile, Heading Banner, and Logo.
 | Note |
|---|---|
The images are placed in the invoice as follows. The Background Tile is tiled to become the background image, the Heading Banner goes to above the invoice text, and the Logo is placed in the upper left corner of the invoice to the left of the Heading Banner. You will probably have to try a few different sized images until you get the invoices to print nicely. Some sizing suggestions are that the Logo should be 1 square cm (~0.5 inch), and the Heading Banner should be 15 cm (~6 inches) wide and 1 cm (~0.5 inch) tall. | |
With the style sheet configured, when you print the invoice, you select the style sheet to use from the menu. Below is the resultant invoice after applying the style sheet demonstrated above.
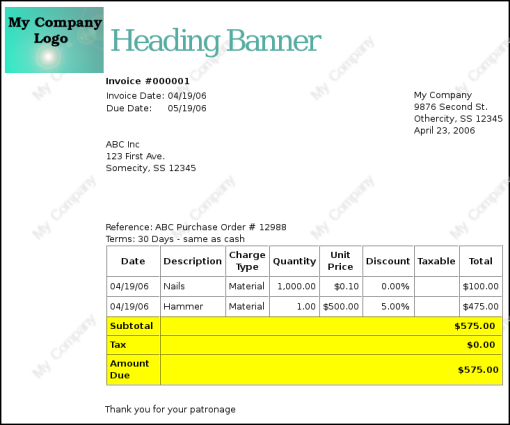
The hideous invoice which results from the graphics selected in the style sheet.